Learn More About 5 Skin Tightening Creams and What to Look For
When comparing skin-tightening and firming products, set realistic expectations from the start: no over-the-counter topical cream can physically lift sagging skin or replicate the results of in-office dermatological procedures.
As the American Academy of Dermatology (AAD) notes, skin-firming creams produce subtle improvements at best, primarily by smoothing surface texture, boosting hydration, and gradually supporting collagen.
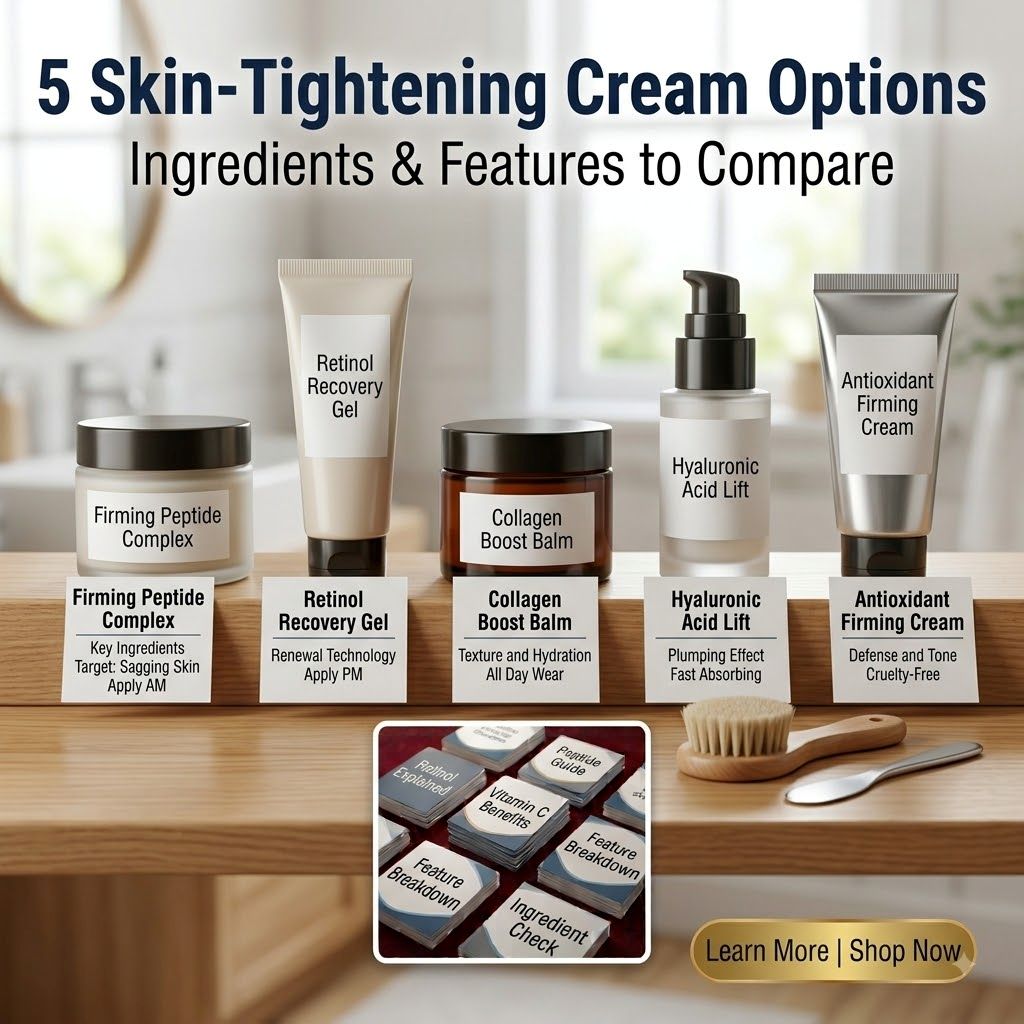
1. What Skin-Tightening Creams Can Realistically Do
Topical products work on the outermost layers of the skin (the epidermis and upper dermis). They cannot alter structural muscle, fat loss, or deep tissue laxity.
-
Temporary Plumping: Hydrating ingredients pull water into surface cells, softening fine lines and crepiness almost immediately.
-
Gradual Renewal: Active cell-communicating ingredients can encourage cell turnover and long-term collagen support over several weeks or months.
-
Protection: Antioxidants and sunscreens prevent further structural damage to existing collagen and elastin fibers.
2. Key Ingredients to Look For
When evaluating product formulas, focus on proven active categories rather than marketing claims:
|
Ingredient Category |
Primary Function |
Realistic Expectations |
|---|---|---|
|
Retinoids & Retinol |
Stimulates cell turnover and supports collagen production. |
Smooths rough texture and softens fine lines over 3–6 months. |
|
Peptides |
Amino acid chains that signal the skin to support structural proteins. |
Offers mild surface firmness and barrier reinforcement. |
|
Hyaluronic Acid & Glycerin |
Humectants that draw moisture into the skin. |
Provides immediate surface plumping to reduce visible crepiness. |
|
Niacinamide (Vitamin B3) |
Improves elasticity, repairs the skin barrier, and evens tone. |
Helps skin appear healthier, smoother, and more resilient. |
|
Broad-Spectrum Sunscreen |
Prevents UV degradation of collagen and elastin. |
Stops future sagging and photoaging; the single most important anti-aging step. |
3. How to Compare Formulations Before Buying
To select the right product, break down the label beyond the front-package promises:
-
Check Ingredient Position: Ingredients are listed in order of concentration. Look for key actives (like retinol, niacinamide, or specific peptides) in the top half of the list rather than near the bottom.
-
Match Texture to Skin Type:
-
Dry or mature skin: Rich creams with ceramides and oils help lock in moisture.
-
Oily or combination skin: Lightweight gels or serums deliver active ingredients without clogging pores.
-
-
Evaluate Packaging: Actives like retinol and vitamin C degrade when exposed to air and light. Choose opaque pumps or tubes over open-top jars.
4. Best Practices: Patch Testing and Gradual Introduction
Active ingredients—especially retinoids—can cause redness, peeling, or irritation if used incorrectly.
-
Patch Test First: Apply a small amount to your inner forearm or jawline for 2–3 consecutive days to check for allergic reactions or severe irritation.
-
Start Slowly: Begin applying retinoid products just 1 to 2 nights per week, gradually increasing frequency as your skin builds tolerance.
-
Always Pair with Sunscreen: Actives that increase cell turnover make skin more sensitive to sunlight; broad-spectrum SPF 30+ daily is essential.
To layer retinol with moisturizer and minimize redness, peeling, or irritation, dermatologists widely recommend two primary methods: The Retinol Sandwich Method (for sensitive/dry skin) and the Buffer Method (for normal/tolerant skin).
1. The “Retinol Sandwich” Method (Best for Beginners & Sensitive Skin)
This technique buffers the active ingredient by literally “sandwiching” a pea-sized amount of retinol between two thin coats of moisturizer.
1.Cleanse and Dry Thoroughly:Never apply retinol to damp skin.
Wash your face with a non-exfoliating, gentle cleanser. Pat dry and wait 2–3 minutes until your skin is completely dry. Applying retinoids to damp skin speeds up penetration, significantly increasing the likelihood of stinging and irritation.
2.Apply First Light Layer of Moisturizer:The Base Slice.
Apply a thin layer of a basic, fragrance-free moisturizer containing hydrating ingredients like hyaluronic acid, ceramides, or glycerin. Let it absorb for 2 to 3 minutes.
3.Apply a Pea-Sized Amount of Retinol:The Middle Layer.
Dot a pea-sized amount of retinol across your forehead, cheeks, and chin. Smooth it gently over your face, deliberately avoiding delicate areas: the upper eyelids, outer corners of the eyes, corners of the nose, and lips. Allow it to settle for 1–2 minutes.
4.Seal with Second Layer of Moisturizer:The Top Slice.
Finish with a second layer of moisturizer to lock in hydration, support the skin barrier, and prevent overnight moisture loss.
2. The Simple “Buffer” Method (For Moderate Tolerance)
If your skin isn’t prone to extreme dryness, you don’t need a double layer of moisturizer:
-
Cleanse and dry face completely.
-
Apply a thin layer of moisturizer first and let it absorb.
-
Apply a pea-sized amount of retinol directly over the moisturizer.
The single layer of moisturizer under the active reduces the initial absorption shock without heavily diluting the product.
Essential Rules to Avoid Retinol Irritation
|
Rule |
Why It Matters |
|---|---|
|
Start Slowly |
Apply retinol only 2 nights per week for the first 2–3 weeks. Slowly scale up to every other night as tolerance builds. |
|
Choose the Right Moisturizer |
Use bland, fragrance-free formulas rich in ceramides or hyaluronic acid. Avoid moisturizers containing AHAs/BHAs (glycolic or salicylic acid) or Vitamin C on retinol nights. |
|
Apply SPF 30+ Every Morning |
Retinol speeds up cell turnover, making fresh skin cells significantly more vulnerable to UV damage. |
|
Avoid Occlusives (Slugging) |
Do not layer heavy petroleum jelly (like Vaseline or Aquaphor) over retinol. Heavy occlusives trap the active against the skin, intensifying irritation and burning. |